Print your first HueForge
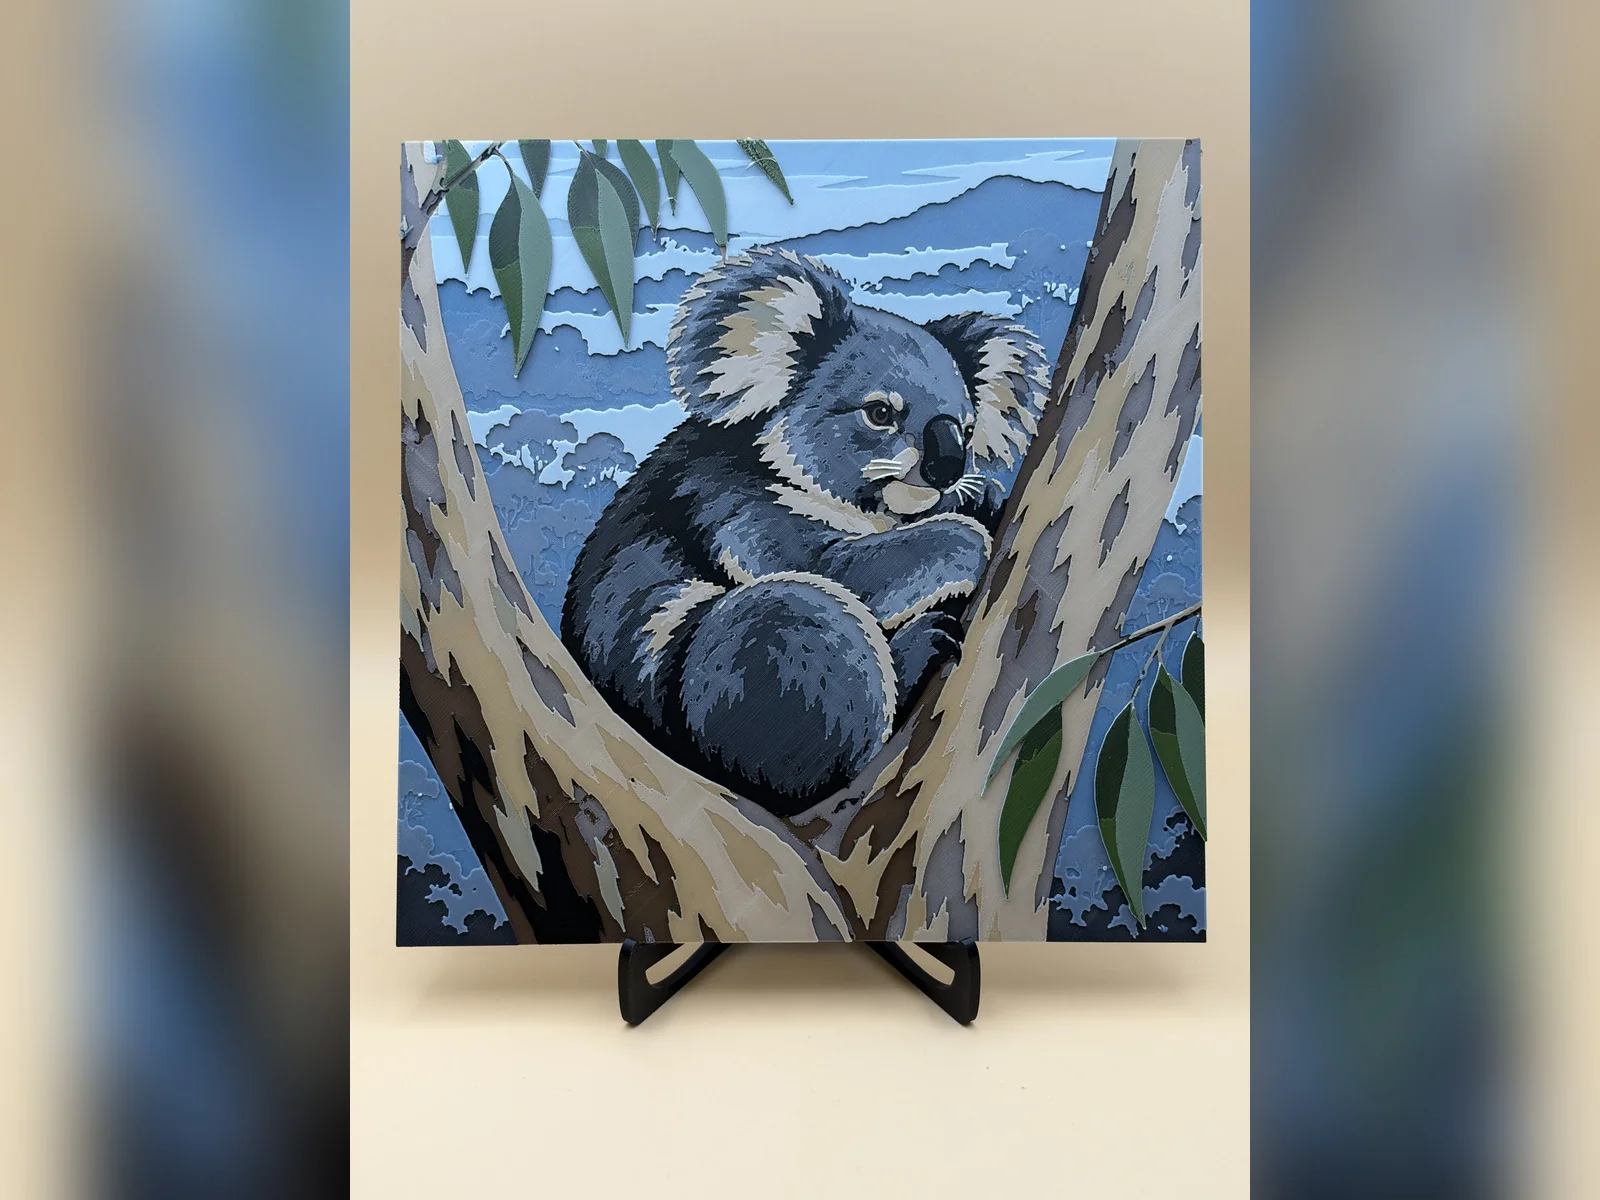
A HueForge print builds a picture from thin layers of filament. Light passes through the upper layers, blending their colour with the layers beneath. You can print the supplied 3MF in Bambu Studio without owning HueForge. How filament painting works
From download to print
Every 3MF in this collection already has its AMS colour changes set up. Printing on a Snapmaker U1? Convert the project for Snapmaker Orca.
- Open the 3MF as a project in Bambu Studio. If it names a different Bambu printer, check the saved speeds before switching.
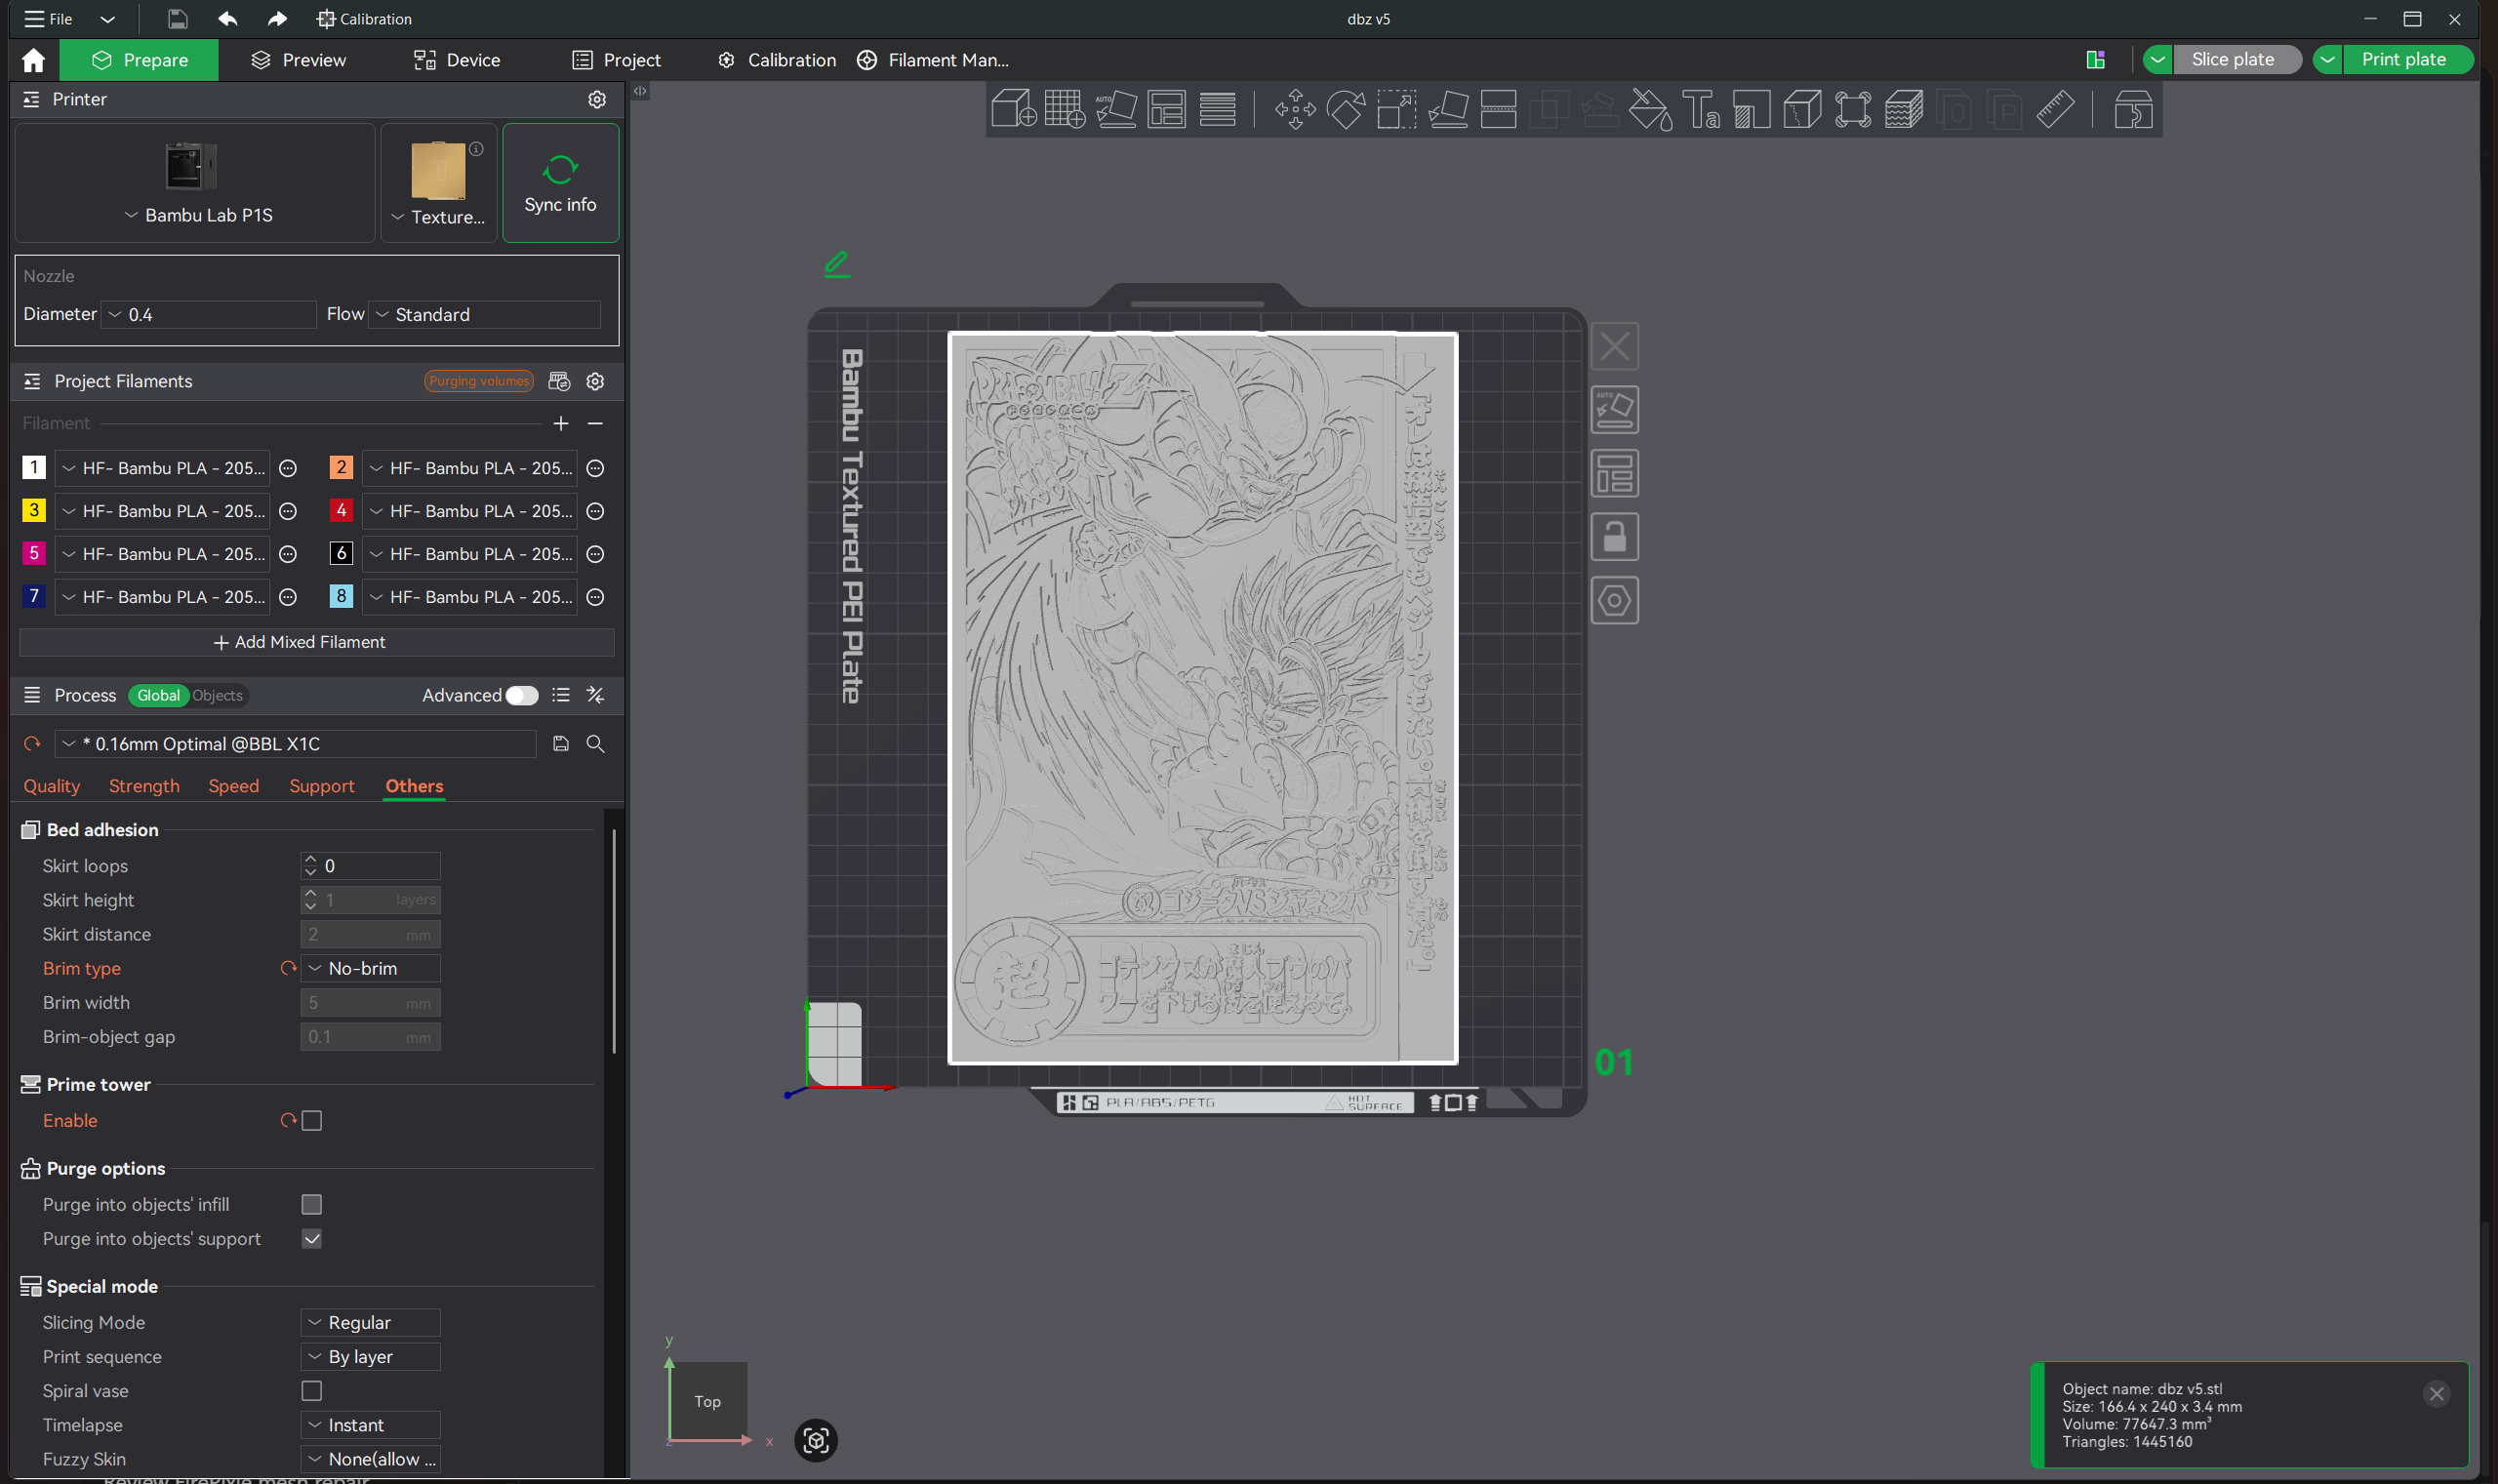
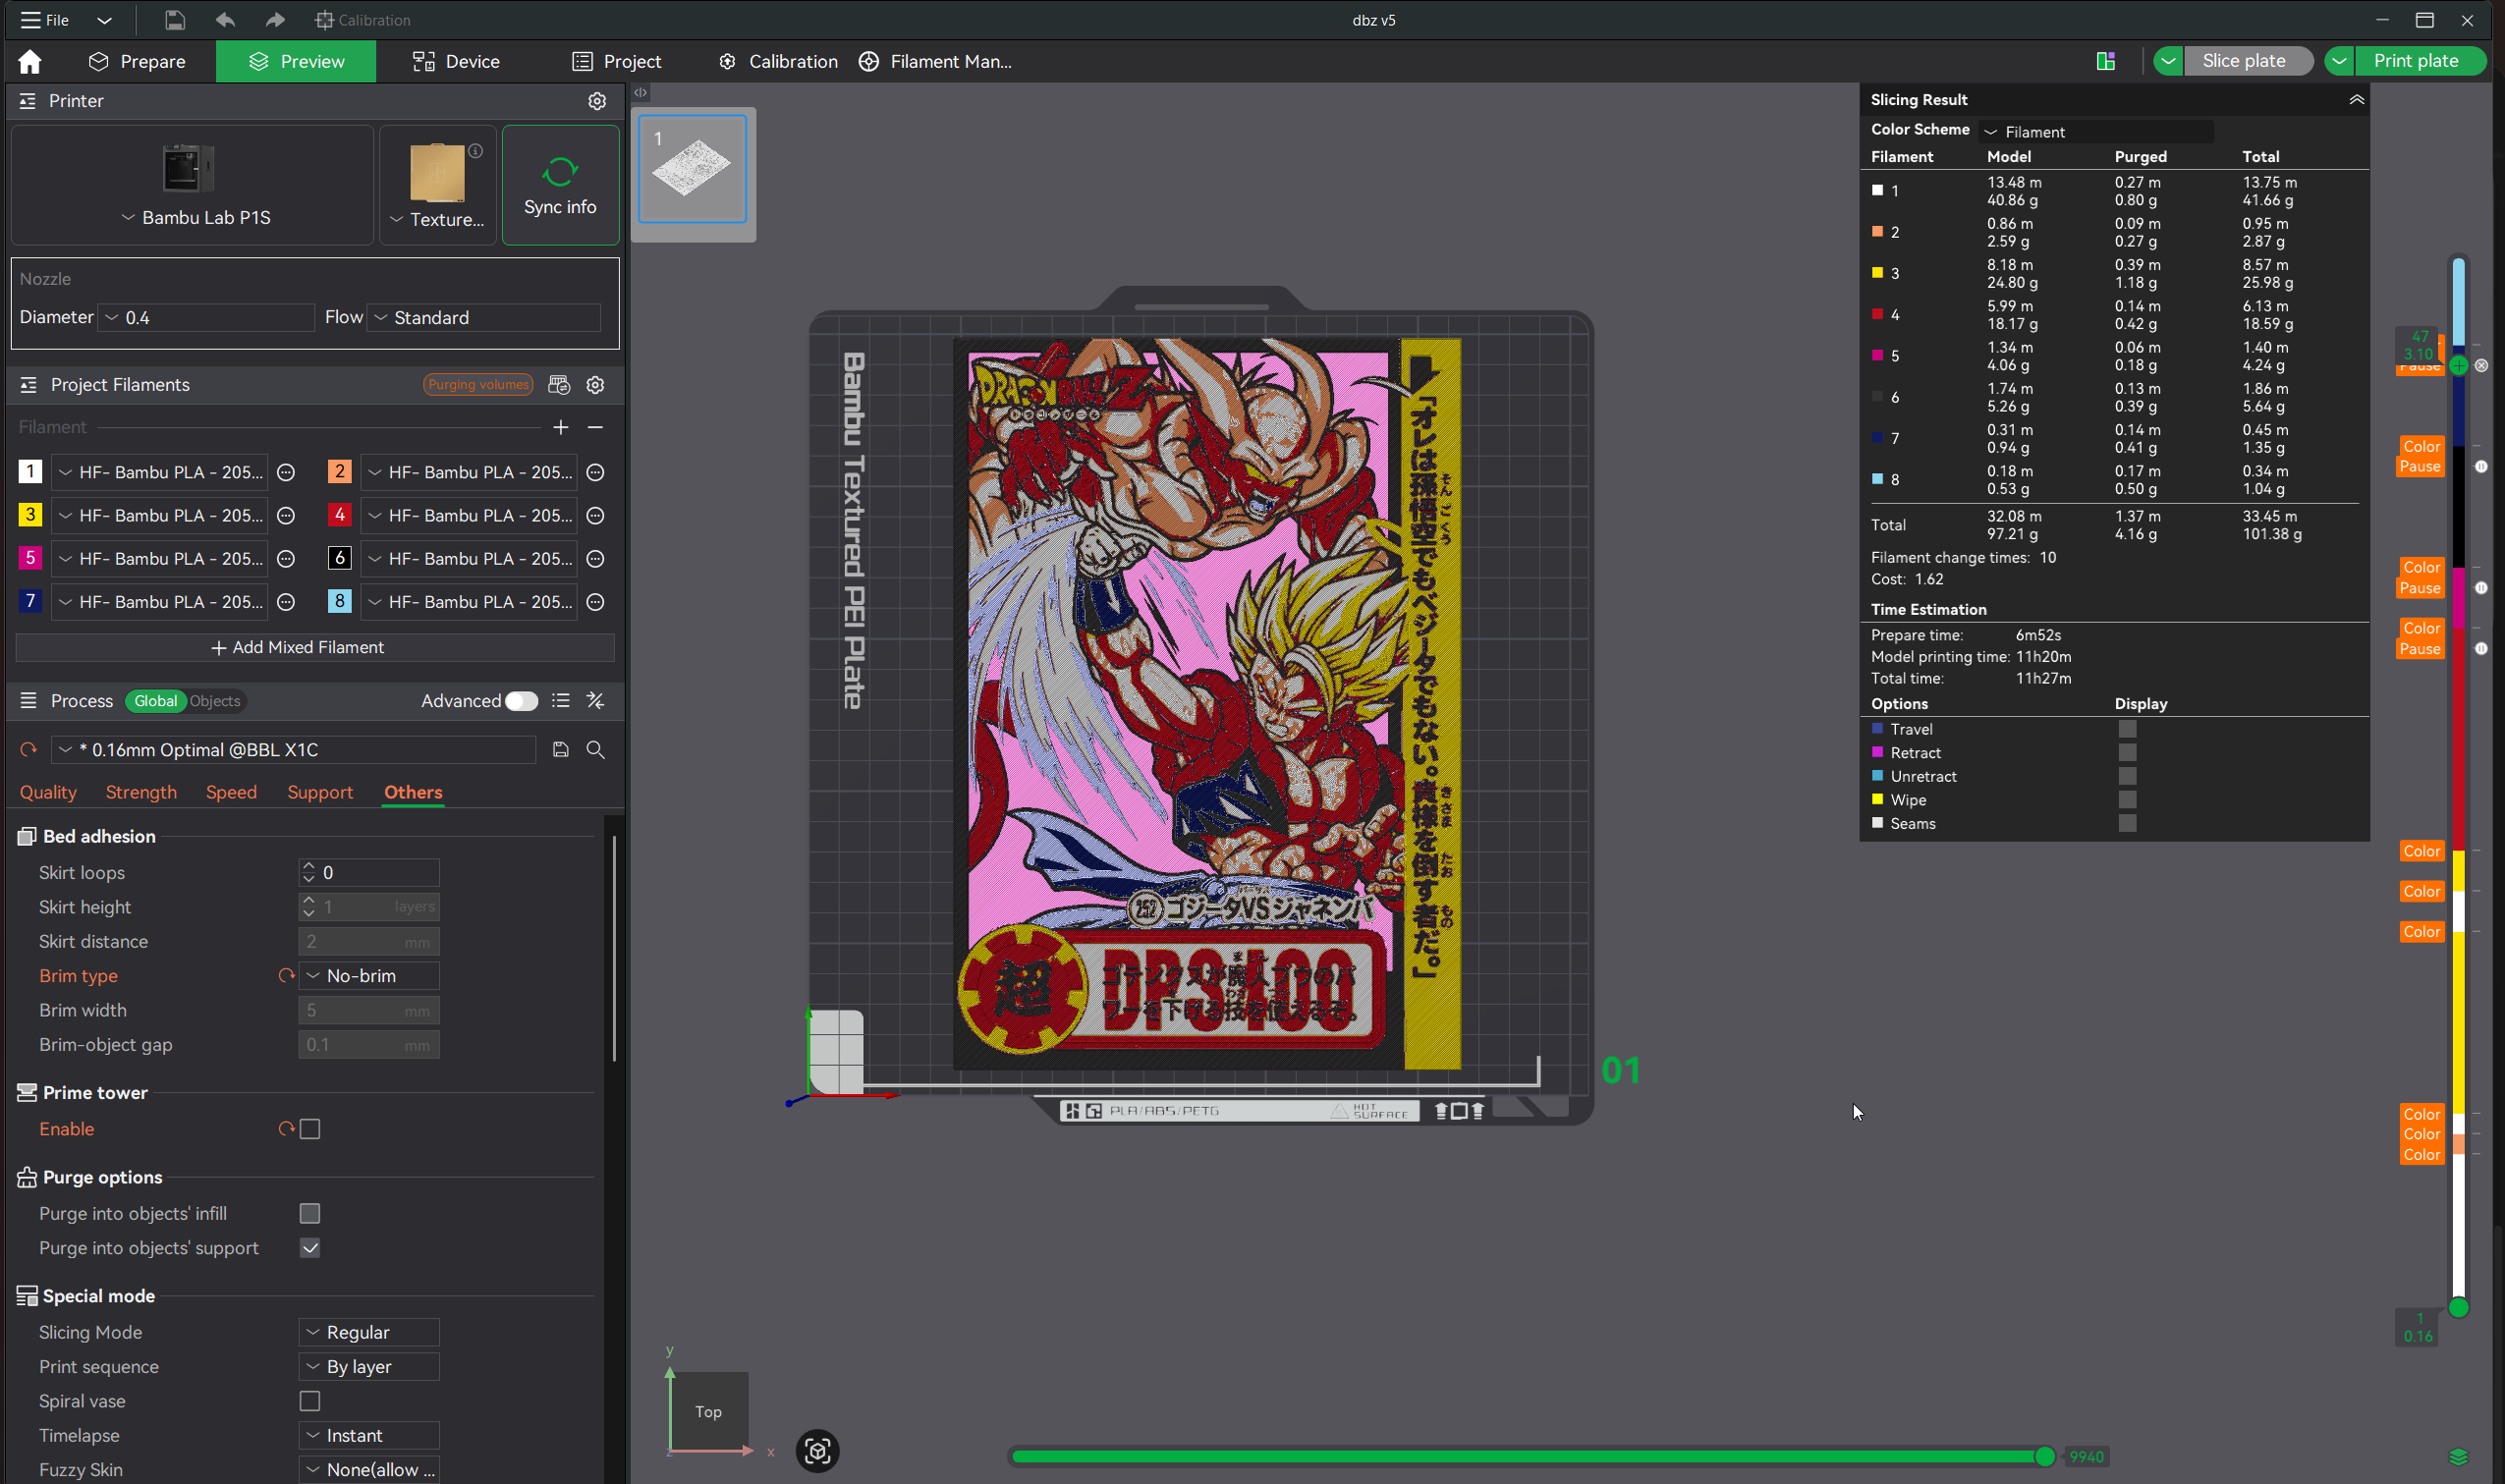
- Click Slice plate. In Preview, set Color Scheme to Filament to see the colour changes.
- Load the spools listed under “Filaments used”. Click Print plate and match each project colour to its AMS slot.
More colours than AMS slots · Printing without an AMS
Resizing? Turn off Uniform scale. Scale X and Y only. Never scale Z. See the resizing example.
Before and after slicing
Reading a MakerWorld listing
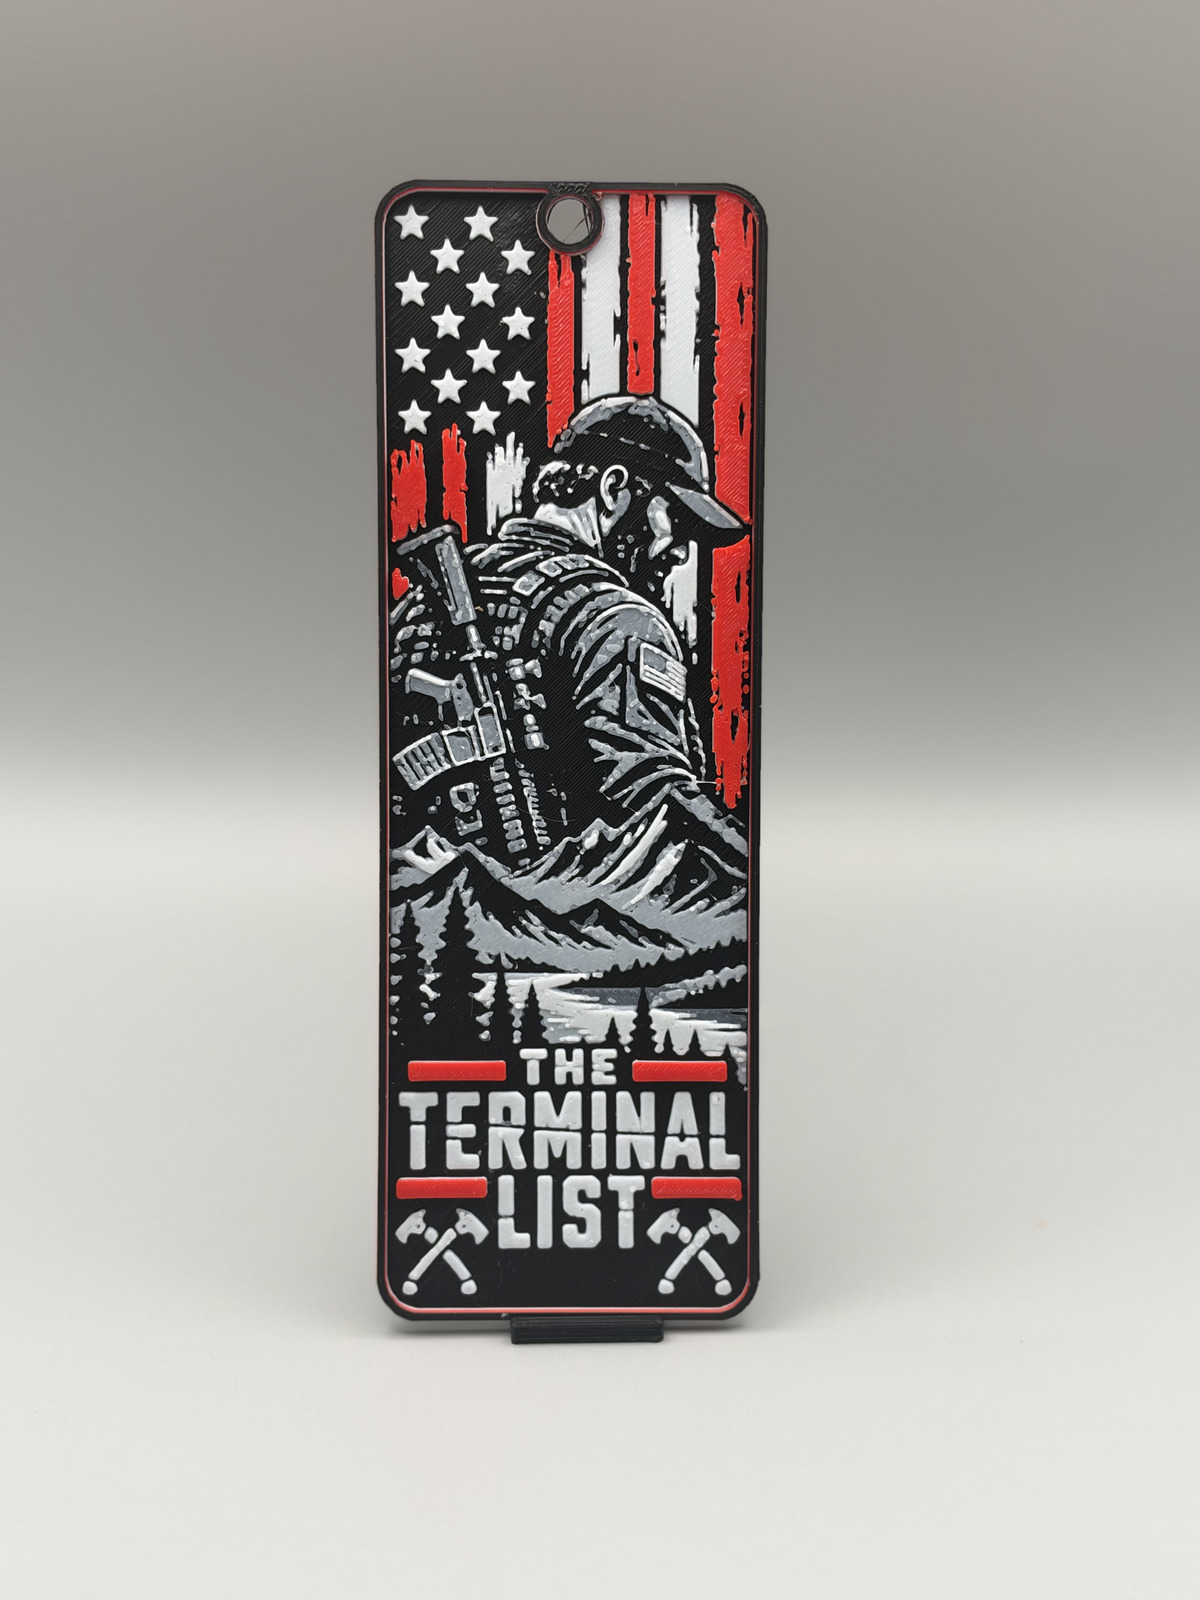
The Terminal List | HueForge Print
Print Settings
- 100% infill
- Sparse Infill Pattern: Rectilinear
- 0.08mm layer height
- 0.16mm initial layer
- Model size: 100x150mm
- Aspect ratio: 2:3
Filaments used
- #000000 PLA BambuLab Basic Black, TD: 0.6
- #ffffff PLA BambuLab Basic Jade White, TD: 5.5
- #c00d1e PLA BambuLab Basic Red, TD: 4
This print uses 3 unique filaments.
Swap Instructions
- Start with Black.
- At layer #7 (0.64mm), swap to Jade White.
- At layer #15 (1.28mm), swap to Red.
- At layer #24 (2mm), swap to Black for the rest.
Layer #7 is the first white layer. You’ll need the black spool again at layer #24. If the file uses a height range modifier, the layer numbers can change. Use the heights in millimetres to check the colour changes.
TD means transmission distance. A different brand or shade can let more light through and change the finished colours. Comparing filaments
For designs marked “Lightbox Compatible”, the listing also links to the frame. Backlit prints and frames